Installation Instructions for Stamped Concrete
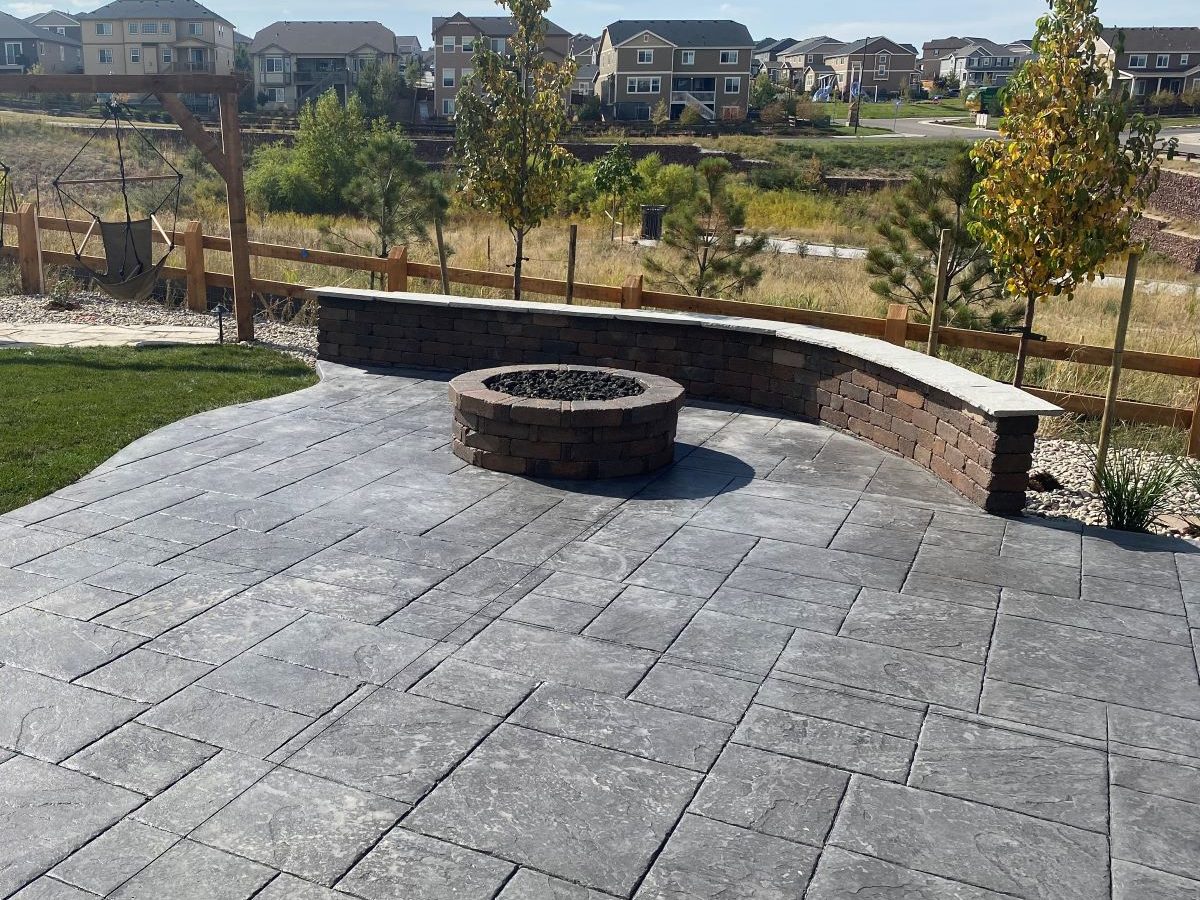
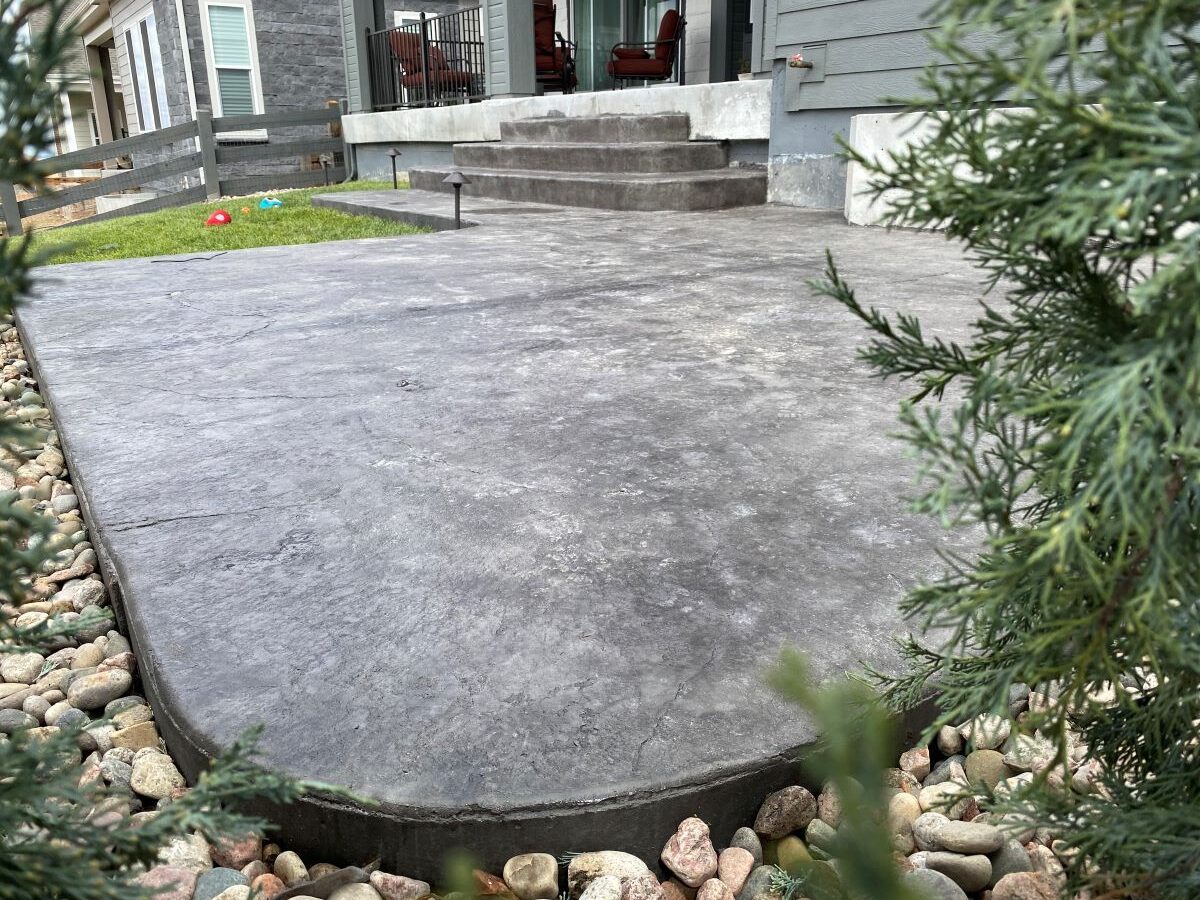
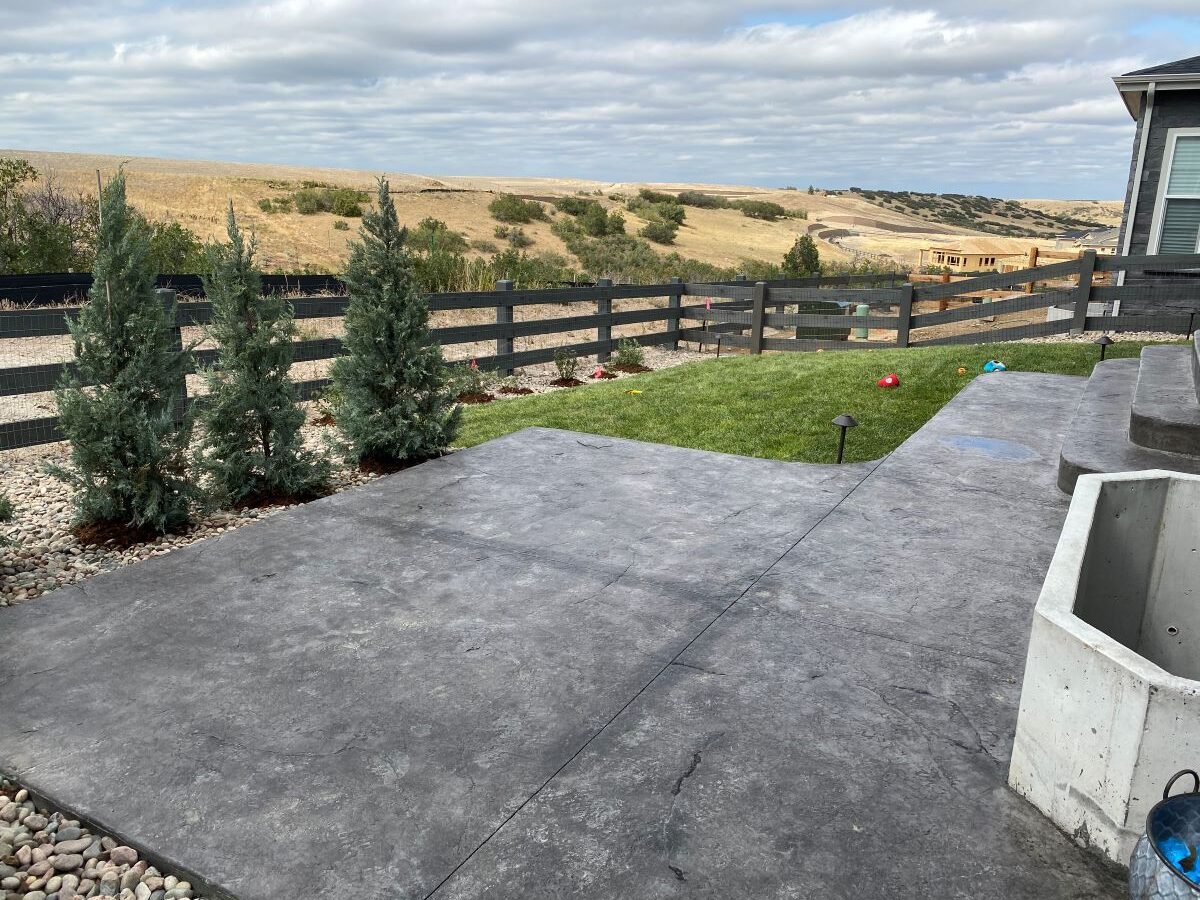
Adding stamped concrete to your outdoor space can create a unique and stunning visual effect. Stamped concrete is an attractive option for walkways, patios, driveways, and pool decks, as it is both durable and aesthetically pleasing. If you’re considering installing stamped concrete, this blog post will provide you with step-by-step instructions on how to properly install it. With the right materials and tools, you’ll be able to create a beautiful and long-lasting outdoor space.
Preparation
Before you begin installing stamped concrete, there are several steps you must take in order to ensure that your project is successful. First, you will need to plan out your stamped concrete design. You can use a variety of tools, such as stencils or templates, to help you create the perfect look. You will also need to prepare the area where you will be placing your stamped concrete. This means clearing away any debris and vegetation, and making sure the ground is level. If necessary, use a concrete saw to cut any pieces that need to fit together. Once your area is prepped, you can start mixing and pouring the concrete.
Mixing the Concrete
Before you begin mixing the concrete, you’ll need to gather the materials and tools necessary for the job. This includes a bag of pre-mixed concrete, a bucket, water, and a mixing tool such as a hoe or a power mixer.
Once you have your materials and tools ready, it’s time to mix the concrete. Start by adding the pre-mixed concrete to the bucket. Then slowly add enough water to make the mixture moist but not overly wet. Use the mixing tool to thoroughly combine the ingredients, breaking up any lumps that may form. The concrete should have a uniform consistency and a creamy texture.
Once the concrete is mixed, you will need to let it sit for approximately 10 minutes to allow the water to soak in before using it. If you’re using a power mixer, you can use the timer feature to help you keep track of this time. This resting period is important, as it allows the concrete to reach its optimal strength before being placed on the floor. After 10 minutes, your concrete will be ready to use.
Pouring the Concrete
Once you have the mix ready, it’s time to start pouring the concrete. Start by pouring a shallow layer of concrete into the prepared area. Spread the concrete out with a shovel, and make sure that it is level and even. Once the first layer is spread, you can begin to pour more concrete over it. Be sure to take your time and evenly distribute the concrete so that all sections have an equal amount of material.
Once you have poured all of the concrete, use a screed tool or a straight 2×4 to help level off the surface. You may need to add more concrete in certain areas if it is not evenly distributed. Once you have leveled the concrete, use a hand trowel to smooth it out. If there are any voids, you can use a touch up mortar mix to fill them in.
Finally, you can add texture to the concrete using a hand-tamper or a roller. Use long, sweeping motions when going over the surface. This will help to create an even finish and will make sure that no air pockets form in the concrete. When you’re finished, your stamped concrete should be ready to be installed.
Applying the Stamps
Once the concrete has been poured and has had time to cure, you can begin applying the stamps. The type of stamp you use depends on the pattern you are looking to create. You will want to make sure that you purchase the right type of stamp for the job.
Begin by lightly spraying the concrete with water. This will help the stamp adhere to the concrete. Place the stamp onto the concrete and use a tamper to firmly press it down into the concrete. If you are using a stamped border, place the stamp around the perimeter of the area.
If necessary, you can cut out any extra pieces of concrete or adjust the shape of the stamped area with a saw or chisel. Once all of your stamps have been laid, use a trowel to help smooth out any rough edges or high spots in the stamped area.
When all of your stamps have been laid and smoothed, you can begin adding any stains or sealers that you would like to add to your design. Make sure to follow the manufacturer’s instructions for proper application of any products you choose to use.
Once the staining and sealing process is complete, you can enjoy your newly installed stamped concrete!
Finishing Up

